Configure Jenkins to create freestyle jobs to automate build and
deployments.

SonarQube


JaCoCo


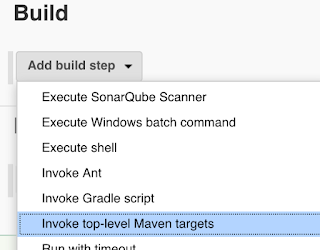
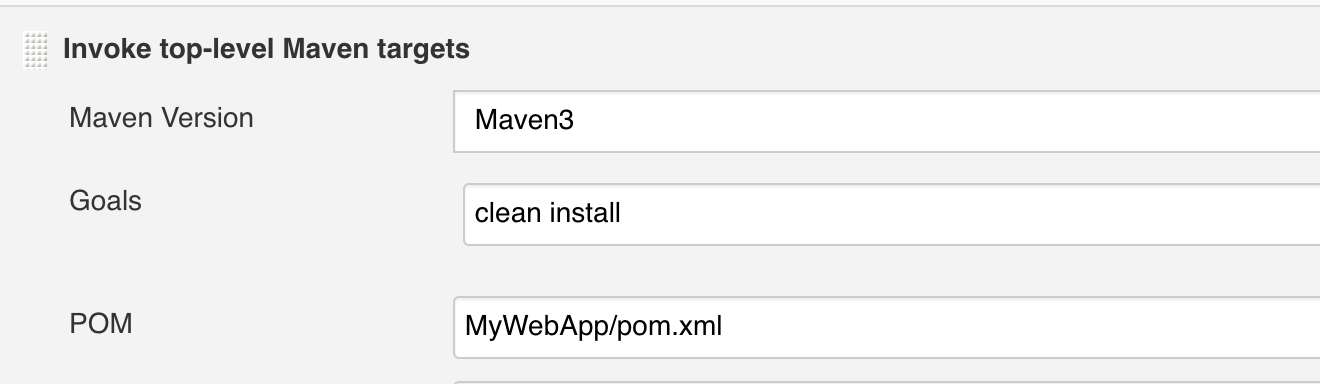
6. Build --> Add build step --> invoke top level maven targets -->

7. Click on advanced, enter the path of POM file as --> MyWebApp/pom.xml


Pre-requisites:
1. Make sure you configure maven installation under Jenkins-->manage Jenkins-> Global Tool Configuration. under maven installation. enter Maven3 as name, enter path of maven installation --> /usr/share/maven and uncheck install automatically option.

2. Also install SonarQube scanner, deploy to container, Jacoco plugins under Jenkins --> Manage Jenkins --> Manage plug-ins
Click on Available, type Sonarqube, select SonarQube scanner. Click on Install without restart.
SonarQube

Deploy to container

JaCoCo

Click on without restart.
steps to automate MyWebApp project in Jenkins:
1. Login to Jenkins. Click on New item.
2. Enter an item name --> select Free style project. enter name as myFirstAutomateJob. click OK.

3.
under source code mgmt, click git. enter Bitbucket URL or GitHub, select
repo you created from lab exercise # 2, click on Clone or download
and select HTTPS Url.
Copy it.

under credentials --> click Add- > select Jenkins --> enter your GitHub username and password

4. select that from drop down.
5. under build trigger click on poll scm, enter this value to check
for every 2 mins --> H/02 * * * *

6. Build --> Add build step --> invoke top level maven targets -->

select Maven3 from drop down and goal as clean install

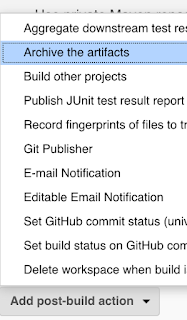
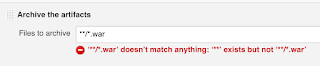
8. add Post build action - select archive the artifacts
enter the below value:(ignore if you get any error in red color)
**/*.war
there may be some errors in red, but ignore it.
9. click on Add post build action, select Record Jacoco Code coverage report


 click Apply, click Save. click on build now..It should build.
You can watch the video of this lab here:

10. click on Add post build action, select deploy war/ear to conta
enter the same value
**/*.war


in WAR/EAR files, leave context path empty
11. click on Add container , select Tomcat 8.x
12. click on add credentials, enter tomcat as user name and password as password.
select it from drop down.


After successful deployment, please make sure you check the output in Tomcat by going to browser and enter below URL
You should see Hello World!!!

This is how you automate the builds and deployments using Jenkins and migrate applications to AWS.
You can watch the video of this lab here:


4BC69B5A83
ReplyDeletehacker kiralama
kiralık hacker
tütün dünyası
hacker bul
hacker kirala
BD538C2C63
ReplyDeletetiktok takipçi
velvet swivel accent chair
CE5B6AAEAF
ReplyDeleteTakipçi Satın Al
En Güzel Oyunlar
Tiktok Jeton Hilesi
564264FD
ReplyDeletekaraman esçort
beyoğlu esçort
ceyhan esçort
balgat esçort
sur esçort
beylikdüzü anal esçort
beydağ esçort
esçort bayan niğde
sapanca esçort