Thursday, June 15, 2023

How to Deploy Springboot Microservices App into AKS cluster using Jenkins Pipeline and Helm | Deploy Microservices into AKS cluster using Helm Charts and Jenkins Pipeline

We are going to learn how to Automate build and deploy of Springboot Microservices App into Azure Kubernetes Cluster(AKS) using Helm and Jenkins pipeline.


Sample springboot App Code:

I have created a sample Springboot App setup in GitHub. Click here to access code base in GitHub. 

Jenkins pipeline will:

- Automate maven build(jar) using Jenkins
- Automate Docker image creation
- Automate Docker image upload into Azure container registry
- Automate Springboot docker container Deployments to Azure Kubernetes Cluster using Helm charts


Pre-requisites:
2.  Install Docker in Jenkins and Jenkins have proper permission to perform Docker builds
3. Install Azure CLI on your Jenkins machine. (We will be creating AKS cluster from Jenkins machine running in Azure Cloud)
4. Helm installed on Jenkins instance
5. Install Kubectl on Jenkins instance
6. AKS cluster needs to be up running. You can create AKS cluster, ACR Repo using shell script provided in my website.
7. Make sure to Install Docker, Docker pipeline 


8. ACR is also setup in Azure cloud. 
10. Dockerfile created along with the application source code for springboot App.

The Code for this video is here:

Implementation steps:

  1. Create a resource group, AKS cluster and Azure container registry 
  2. Provide pull access for AKS to pull image from ACR 
  3. Create a namespace for helm deployment
  4. Create a helm chart for spring boot app
  5. Create a Jenkins pipeline with below stages:
    • checkout
    • Build Jar
    • Build docker image
    • Upload image to ACR
    • Deploy to AKS using helm
  6. Run the pipeline to deploy springboot app into AKS
  7. Verify deployments in the namespace in AKS
  8. Access the app in the browser
Create AKS cluster from Jenkins Virtual machine
Login to Jenkins virtual machine. switch as jenkins user
sudo su - jenkins

Authenticate to Azure Cloud by typing:
az login


Now to the browser, type https://microsoft.com/devicelogin
enter the code as received from previous step:

Enter your microsoft credentials, click continue per below screen:

You will be shown below screen:

 
Create a shell script based on the script provided here

vi create-aks.sh
copy and paste entire script provided in this link.

Execute shell script to create the following in Azure clid:
  • Resource group
  • AKS cluster
  • ACR repo
  • provide pull access to AKS for pulling docker image from ACR
  • namespace in AKS cluster for deploying our springboot app
sh create-aks.sh
This will take 2 to 5 mins to create the resources in Azure cloud.

Make sure cluster is up and running with worker nodes
kubectl get nodes


Create Helm chart using helm command
Go to your root of repo where you have source code for your springboot application. Create helm chart by executing below command:

helm create mychart
tree mychart
Execute the above command to see the files created.


Add Docker image details to download from ECR before deploying to EKS cluster
open mychart/values.yaml. change per below values:

image:
repository: myacrrepo531.azurecr.io/myacrrepo531
tag: ""


Enter service type as LoadBalancer
And also
open mychart/templates/deployment.yaml and change containerPort to 8080


Save the files, commit and push into repo.
Step # 1 - Create Maven3 variable under Global tool configuration in Jenkins
Make sure you create Maven3 variable under Global tool configuration. 


Step #2 - Create Credentials to connect to ACR from Jenkins

Go to Azure Portal console, go to container registry
Settings--> Access keys
Get the username and password 
Go to Jenkins-> Manage Jenkins. Create credentials.


Enter ID as ACR and enter some text for description and Save.


Step # 3 - Create a pipeline in Jenkins
Create a new pipeline job.

Step # 4 - Copy the pipeline code from below
Make sure you change values as per your settings highlighted in yellow below:

pipeline {
  tools {
        maven 'Maven3'
    }
    agent any
        environment {
        //once you create ACR in Azure cloud, use that here
        registryName = "myacrrepo531"
        //- update your credentials ID after creating credentials for connecting to ACR
        registryCredential = 'ACR'
        dockerImage = ''
        registryUrl = 'myacrrepo531.azurecr.io'
    }
    
    stages {
        stage('checkout') {
            steps {
                checkout([$class: 'GitSCM', branches: [[name: '*/master']], extensions: [], userRemoteConfigs: [[url: 'check_out_from_your_repo_after_forking_my_repo']]])
            }
        }
        
        stage ('Build Jar') {
        steps {
            sh 'mvn clean install'           
        }
     }
     
    stage ('Build Docker image') {
        steps {
                script {
                    dockerImage = docker.build registryName
                }
            }
        }
        
    // Uploading Docker images into ACR
        stage('Upload Image to ACR') {
         steps{   
             script {
                docker.withRegistry( "http://${registryUrl}", registryCredential ) {
                dockerImage.push("$BUILD_NUMBER")
                }
            }
          }
        }
        
        stage ('Helm Deploy') {
          steps {
            script {
                sh "helm upgrade first --install mychart --namespace helm-deployment --set image.tag=$BUILD_NUMBER"
                }
            }
        }
    }
}

Step # 5 - Build the pipeline

Step # 6 - Verify deployments in AKS
Execute the below command to list the helm deployments:
helm ls -n helm-deployment


kubectl get pods -n helm-deployment

kubectl get services -n helm-deployment

Steps # 7 - Access Springboot App Deployed in AKS cluster
Once deployment is successful, go to browser and enter above load balancer URL mentioned above

You should see page like below:

Clean up the Cluster:

To avoid charges from Azure, you should clean up unneeded resources. When the cluster is no longer needed, use the az group delete command to remove the resource group, container service, and all related resources. 

az group delete --name resource-group-name --yes --no-wait


Watch steps in YouTube Channel:

Friday, June 9, 2023

Install Jenkins on Ubuntu 22.0.4 in Azure VM | Setup Jenkins on Azure Linux instance | How to setup Jenkins in Ubuntu Virtual Machine running in Azure Cloud?

Jenkins is an open source continuous integration/continuous delivery and deployment (CI/CD) automation software DevOps tool written in the Java programming language. It is used to implement CI/CD workflows, called pipelines.

Please follow the steps to install Java, Jenkins, Maven on Ubuntu 22.0.4 instance. Jenkins, Maven are Java based applications, so we need to install Java first. 

Pre-requistes:

Change Host Name to Jenkins
sudo hostnamectl set-hostname Jenkins

Perform update first
sudo apt update

Install Java 11
sudo apt install default-jdk -y

 
Once install java, enter the below command

Verify Java Version
java -version

Maven Installation
Maven is a popular build tool used for building Java applications. Please click here to learn more about Maven. You can install Maven by executing below command:

sudo apt install maven -y

you can type mvn --version
you should see the below output.


Now lets start Jenkins installation

Jenkins Setup

Add Repository key to the system
curl -fsSL https://pkg.jenkins.io/debian/jenkins.io-2023.key | sudo tee \
  /usr/share/keyrings/jenkins-keyring.asc > /dev/null

Append debian package repo address to the system
echo deb [signed-by=/usr/share/keyrings/jenkins-keyring.asc] \
  https://pkg.jenkins.io/debian binary/ | sudo tee \
  /etc/apt/sources.list.d/jenkins.list > /dev/null


Update Ubuntu package
sudo apt update
Install Jenkins
sudo apt install jenkins -y


The above screenshot should confirm that Jenkins is successfully installed.

Access Jenkins in web browser

Now Go to Azure Portal console. Click on Jenkins VM, Copy the public IP address.
 

Now go to browser. enter public IP address with port no 8080.

Unlock Jenkins
You may get screen, enter the below command in Git bash( Ubuntu console)
Get the initial password from the below file
sudo cat /var/lib/jenkins/secrets/initialAdminPassword


Copy the password and paste in the browser.
Then click on install suggested plug-ins. 
Also create user name and password.
enter everything as admin. at least user name as admin password as admin
Click on Save and Finish. Click on start using Jenkins. Now you should see a screen like below:


That's it. You have setup Jenkins successfully. 

Please watch the steps in our YouTube channel:    

Friday, May 19, 2023

How to Deploy Springboot Microservices App into EKS cluster using Jenkins Pipeline and Helm | Deploy Microservices into EKS cluster using Helm and Jenkins Pipeline

We are going to learn how to automate build and deployment of Springboot Microservices Docker Container into Elastic Kubernetes Cluster(EKS) using Helm and Jenkins pipeline.

What is Helm?

Helm is a package manager for Kubernetes. Helm is the K8s equivalent of yum or apt. It accomplishes the same goals as Linux system package managers like APT or YUM: managing the installation of applications and dependencies behind the scenes and hiding the complexity from the user.

To learn more about Helm, please click here.

Sample springboot App Code:

I have created a sample Springboot App setup in GitHub. Click here to access code base in GitHub. 

Jenkins pipeline will:

- Automate maven build(jar) using Jenkins
- Automate Docker image creation
- Automate Docker image upload into Elastic container registry(ECR)
- Automate Springboot docker container deployments into Elastic Kubernetes Cluster using Helm charts


Pre-requisites:
1. EKS cluster needs to be up running. Click here to learn how to create Amazon EKS cluster.
2. Jenkins instance is up and running
3. Install AWS CLI on Jenkins instance
4. Helm installed on Jenkins instance
5. Install 
6. Install eksctl on Jenkins instance
7. Install Docker in Jenkins and Jenkins have proper permission to perform Docker builds
8. Make sure to Install Docker, Docker pipeline 


10. Dockerfile created along with the application source code for springboot App.
11. Namespace created in EKS cluster

The Code for this video is here:

Create Helm chart using helm command
Go to your root of repo where you have source code for your springboot application. Create helm chart by executing below command:

helm create mychart
tree mychart
Execute the above command to see the files created.


Add Docker image details to download from ECR before deploying to EKS cluster
open mychart/values.yaml.


Enter service type as LoadBalancer
And also
open mychart/templates/deployment.yaml and change containerPort to 8080


Save the files, commit and push into repo.

Step # 1 - Create Maven3 variable under Global tool configuration in Jenkins
Make sure you create Maven3 variable under Global tool configuration. 


Step #2 - Create Credentials for connecting to EKS cluster using Kubeconfig
Go to Jenkins UI, click on Credentials -->


Click on Global credentials
Click on Add Credentials

use secret file from drop down.

you should see the nodes running in EKS cluster.

kubectl get nodes

Execute the below command to get kubeconfig info, copy the entire content of the file:
cat ~/.kube/config


Open your text editor or notepad, copy and paste the entire content and save in a file.
We will upload this file.

Enter ID as K8S and choose File and upload the file and save.


Step # 3 - Create a namespace in EKS
kubectl create ns helm-deployment

Step # 4 - Create a pipeline in Jenkins
Create a new pipeline job.

Step # 5 - Copy the pipeline code from below
Make sure you change below red marked values as per your settings highlighted in yellow below:

pipeline {
   tools {
        maven 'Maven3'
    }
    agent any
    environment {
        registry = "account_id.dkr.ecr.us-east-1.amazonaws.com/my-docker-repo"
    }
   
    stages {
        stage('Cloning Git') {
            steps {
                checkout([$class: 'GitSCM', branches: [[name: '*/master']], doGenerateSubmoduleConfigurations: false, extensions: [], submoduleCfg: [], userRemoteConfigs: [[credentialsId: '', url: 'https://github.com/akannan1087/docker-spring-boot']]])     
            }
        }
      stage ('Build') {
          steps {
            sh 'mvn clean install'           
            }
      }
    // Building Docker images
    stage('Building image') {
      steps{
        script {
          dockerImage = docker.build registry 
          dockerImage.tag("$BUILD_NUMBER")
        }
      }
    }
   
    // Uploading Docker images into AWS ECR
    stage('Pushing to ECR') {
     steps{  
         script {
                sh 'aws ecr get-login-password --region us-east-1 | docker login --username AWS --password-stdin account_id.dkr.ecr.us-east-1.amazonaws.com'
                sh 'docker push account_id.dkr.ecr.us-east-1.amazonaws.com/my-docker-repo:$BUILD_NUMBER'
         }
        }
      }
        stage ('Helm Deploy') {
          steps {
            script {
                sh "helm upgrade first --install mychart --namespace helm-deployment --set image.tag=$BUILD_NUMBER"
                }
            }
        }
    }
}

Step # 6 - Build the pipeline


Step # 7 - Verify deployments in EKS
Execute the below command to list the helm deployments:
helm ls -n helm-deployment


kubectl get pods -n helm-deployment

kubectl get services -n helm-deployment

Steps # 8 - Access Springboot App Deployed in EKS cluster
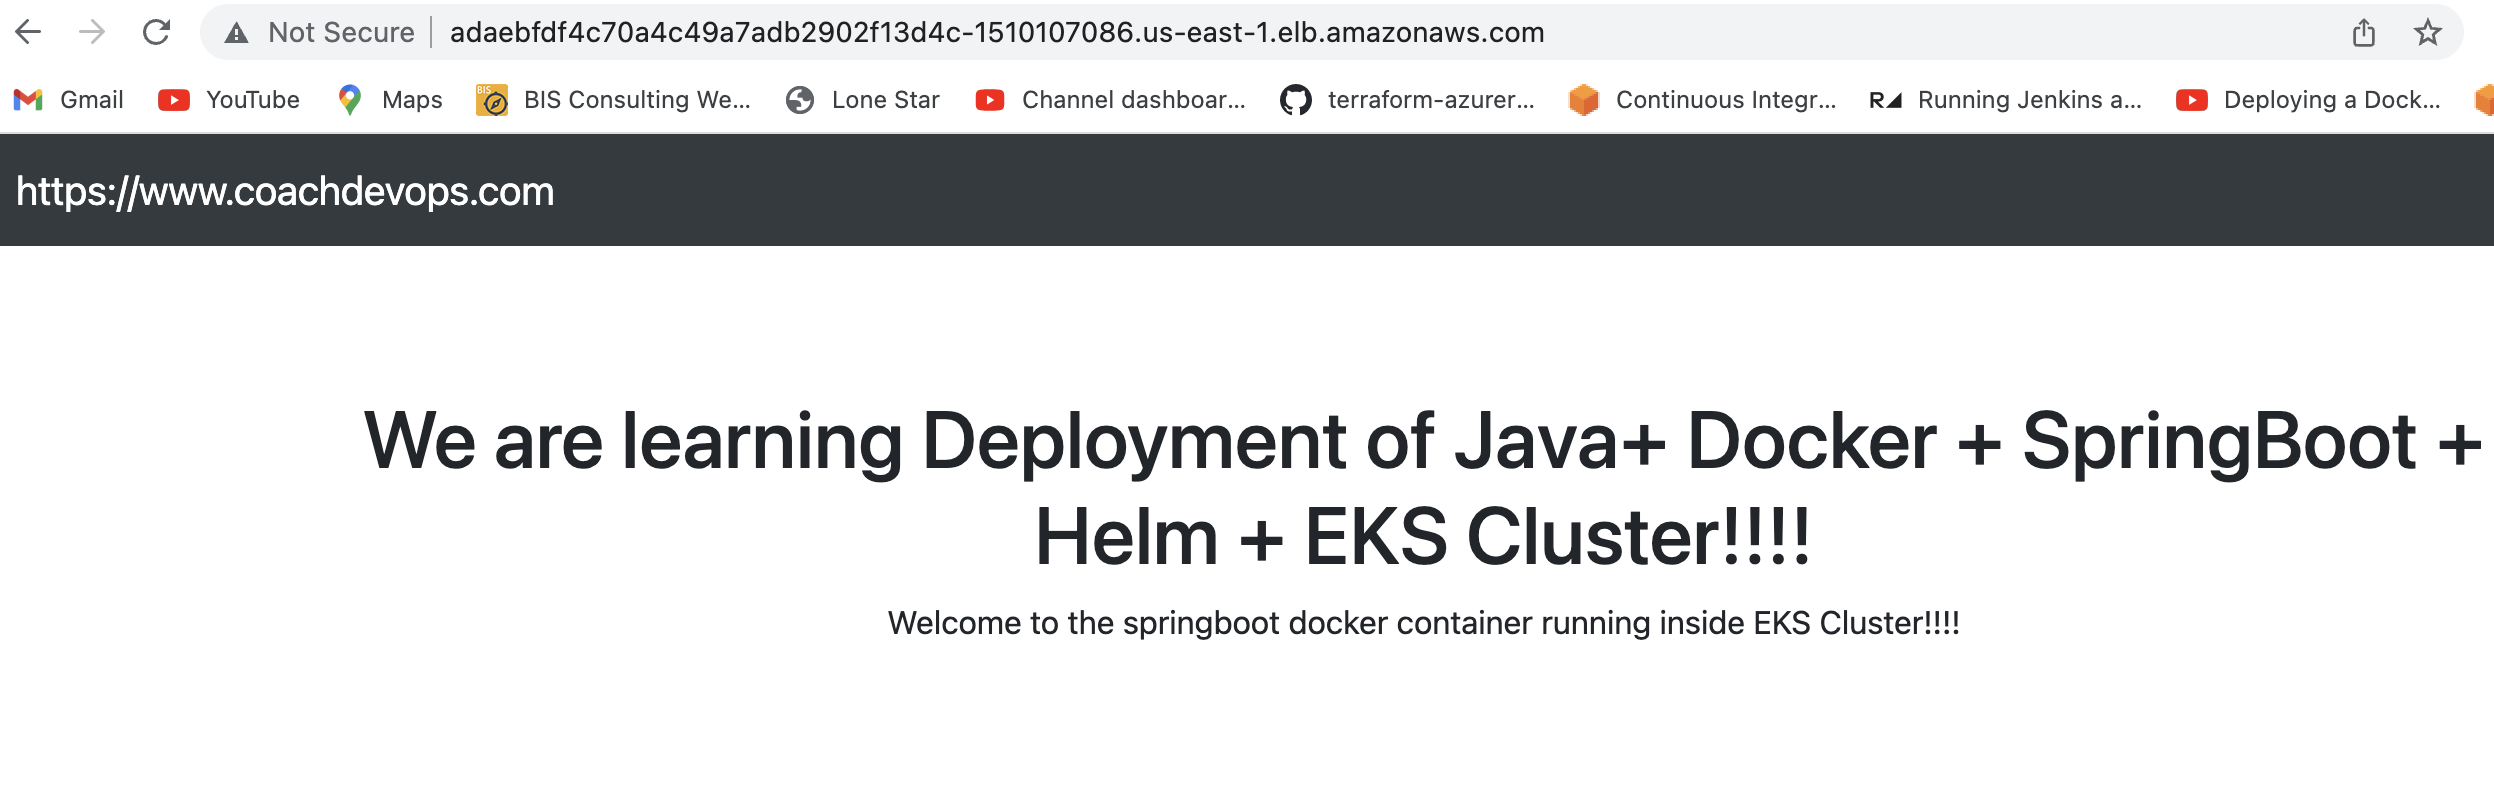
Once deployment is successful, go to browser and enter above load balancer URL mentioned above

You should see page like below:

Cleanup EKS Cluster using eksctl
To avoid charges from AWS, you should clean up resources. 

eksctl delete cluster --name demo-eks --region us-east-1


Watch steps in Youtube channel: